- Afrikaans
- Albanian
- Amharic
- Arabic
- Armenian
- Azerbaijani
- Basque
- Belarusian
- Bengali
- Bosnian
- Bulgarian
- Catalan
- Cebuano
- chinese_simplified
- chinese_traditional
- Corsican
- Croatian
- Czech
- Danish
- Dutch
- English
- Esperanto
- Estonian
- Finnish
- French
- Frisian
- Galician
- Georgian
- German
- Greek
- Gujarati
- haitian_creole
- hausa
- hawaiian
- Hebrew
- Hindi
- Miao
- Hungarian
- Icelandic
- igbo
- Indonesian
- irish
- Italian
- Japanese
- Javanese
- Kannada
- kazakh
- Khmer
- Rwandese
- Korean
- Kurdish
- Kyrgyz
- Lao
- Latin
- Latvian
- Lithuanian
- Luxembourgish
- Macedonian
- Malgashi
- Malay
- Malayalam
- Maltese
- Maori
- Marathi
- Mongolian
- Myanmar
- Nepali
- Norwegian
- Norwegian
- Occitan
- Pashto
- Persian
- Polish
- Portuguese
- Punjabi
- Romanian
- Russian
- Samoan
- scottish-gaelic
- Serbian
- Sesotho
- Shona
- Sindhi
- Sinhala
- Slovak
- Slovenian
- Somali
- Spanish
- Sundanese
- Swahili
- Swedish
- Tagalog
- Tajik
- Tamil
- Tatar
- Telugu
- Thai
- Turkish
- Turkmen
- Ukrainian
- Urdu
- Uighur
- Uzbek
- Vietnamese
- Welsh
- Bantu
- Yiddish
- Yoruba
- Zulu
how to make a gusset for a bag
How to Make a Gusset for a Bag
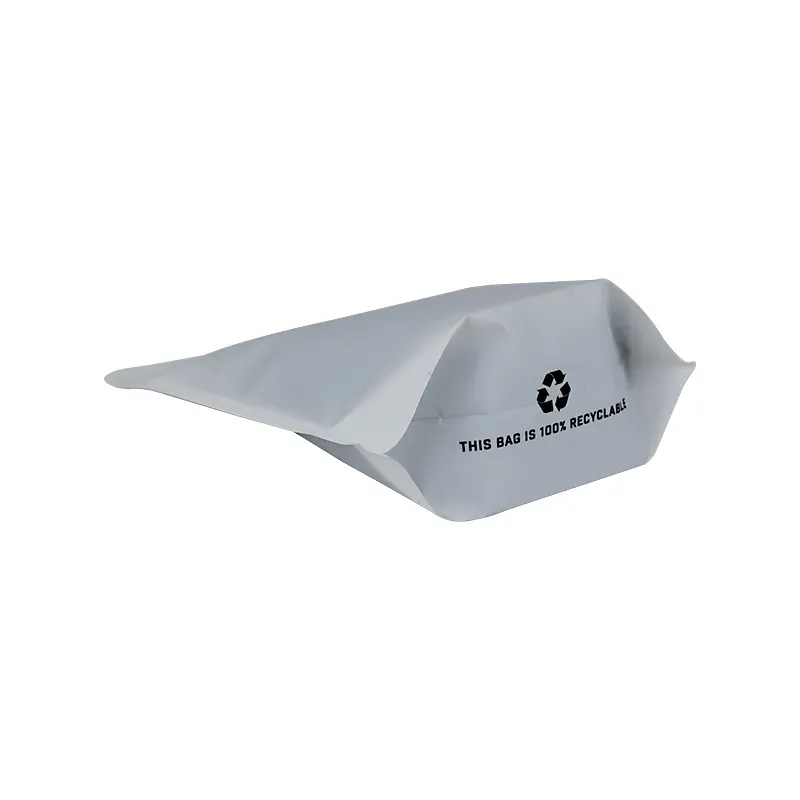
Creating a gusset for a bag is a fantastic way to add dimension and functionality to your design. A gusset is essentially a triangular or rectangular piece of fabric that allows a bag to expand at its base or sides, providing additional space for items. Whether you’re making a tote, a backpack, or any other type of bag, incorporating a gusset can enhance both the aesthetics and usability of your project. Here’s a step-by-step guide on how to make a gusset for your bag.
Step 1 Gather Materials
Before getting started, you need to gather your materials. You will need
- Fabric of your choice (linings and outer fabric) - A measuring tape - Scissors - Pins - Sewing machine - Thread that matches your fabric - A ruler or straight edge - Tailor’s chalk or fabric marker
Step 2 Determine the Dimensions
Decide the dimensions of your bag and how wide you want the gusset to be. The width of the gusset typically ranges from 2 to 5 inches, depending on your design and the overall size of the bag. Use a measuring tape to find the length and width of the bottom of the bag.
Step 3 Cut the Gusset Fabric
Once you’ve determined the gusset width, you need to cut the fabric. For a rectangular gusset, measure and cut a piece of fabric that has the same length as the bottom of your bag and the desired width of the gusset. For a triangular gusset, you can create two triangles that, when sewn together, will add volume to the corners of your bag.
Step 4 Prepare the Bag and Gusset for Assembly
Ensure that the outer fabric and lining of your bag are ready for the gusset. Pin the gusset to the bottom edges of the bag’s body, ensuring that the edges are secure and that the gusset is evenly spaced. If you’re using a triangular gusset, align the triangle corners with the bag’s corners.
how to make a gusset for a bag

Step 5 Pin the Gusset in Place
Using pins, carefully secure the gusset to the bag’s body. Start from one end and work your way to the other end, ensuring there are no puckers or folds in the fabric. This will help create a smooth finish once you start sewing.
Step 6 Sew the Gusset to the Bag
Using a sewing machine, stitch along the edges where the gusset meets the bag. Use a straight stitch, ensuring that you backstitch at the beginning and end for durability. If you’re using thicker fabric, consider using a heavy-duty needle to prevent breakage.
Step 7 Finish the Edges
Once you’ve sewn the gusset in place, trim any excess fabric and finish the edges with a serger or zigzag stitch. This will prevent fraying and give your bag a professional look.
Step 8 Turn and Press
Turn your bag right side out and gently press the seams with an iron. This step will give your bag a clean finish. Make sure to take care not to burn the fabric, especially if it’s delicate.
Conclusion
Incorporating a gusset into your bag design is a practical way to increase storage capacity while enhancing style. With these steps, you can successfully add a gusset to your bag, making it not only more functional but also visually appealing. Whether you’re a beginner or an experienced sewist, this technique is a useful skill to have in your crafting arsenal. Happy sewing!


