- Afrikaans
- Albanian
- Amharic
- Arabic
- Armenian
- Azerbaijani
- Basque
- Belarusian
- Bengali
- Bosnian
- Bulgarian
- Catalan
- Cebuano
- chinese_simplified
- chinese_traditional
- Corsican
- Croatian
- Czech
- Danish
- Dutch
- English
- Esperanto
- Estonian
- Finnish
- French
- Frisian
- Galician
- Georgian
- German
- Greek
- Gujarati
- haitian_creole
- hausa
- hawaiian
- Hebrew
- Hindi
- Miao
- Hungarian
- Icelandic
- igbo
- Indonesian
- irish
- Italian
- Japanese
- Javanese
- Kannada
- kazakh
- Khmer
- Rwandese
- Korean
- Kurdish
- Kyrgyz
- Lao
- Latin
- Latvian
- Lithuanian
- Luxembourgish
- Macedonian
- Malgashi
- Malay
- Malayalam
- Maltese
- Maori
- Marathi
- Mongolian
- Myanmar
- Nepali
- Norwegian
- Norwegian
- Occitan
- Pashto
- Persian
- Polish
- Portuguese
- Punjabi
- Romanian
- Russian
- Samoan
- scottish-gaelic
- Serbian
- Sesotho
- Shona
- Sindhi
- Sinhala
- Slovak
- Slovenian
- Somali
- Spanish
- Sundanese
- Swahili
- Swedish
- Tagalog
- Tajik
- Tamil
- Tatar
- Telugu
- Thai
- Turkish
- Turkmen
- Ukrainian
- Urdu
- Uighur
- Uzbek
- Vietnamese
- Welsh
- Bantu
- Yiddish
- Yoruba
- Zulu
Techniques for Vacuum Sealing Liquids Effectively and Safely at Home
How to Vacuum Seal Liquids A Step-by-Step Guide
Vacuum sealing is a popular food preservation method that extends the shelf life of various items, from dry goods to marinated meats. However, when it comes to sealing liquids, many people find the process a bit tricky. Fortunately, with the right techniques and tools, it is entirely possible to vacuum seal liquids effectively. In this article, we will provide you with a comprehensive guide on how to vacuum seal liquids successfully.
Understanding Vacuum Sealing and Its Benefits
Vacuum sealing removes air from a bag or container, significantly slowing down the oxidation process that causes food spoilage. This technique not only preserves the freshness and flavor of your food but also reduces freezer burn. When it comes to liquids like soups, sauces, marinades, or fresh juices, vacuum sealing can help maintain their quality while preventing leaks and spills in your freezer.
Tools You Will Need
To start vacuum sealing liquids, you’ll need
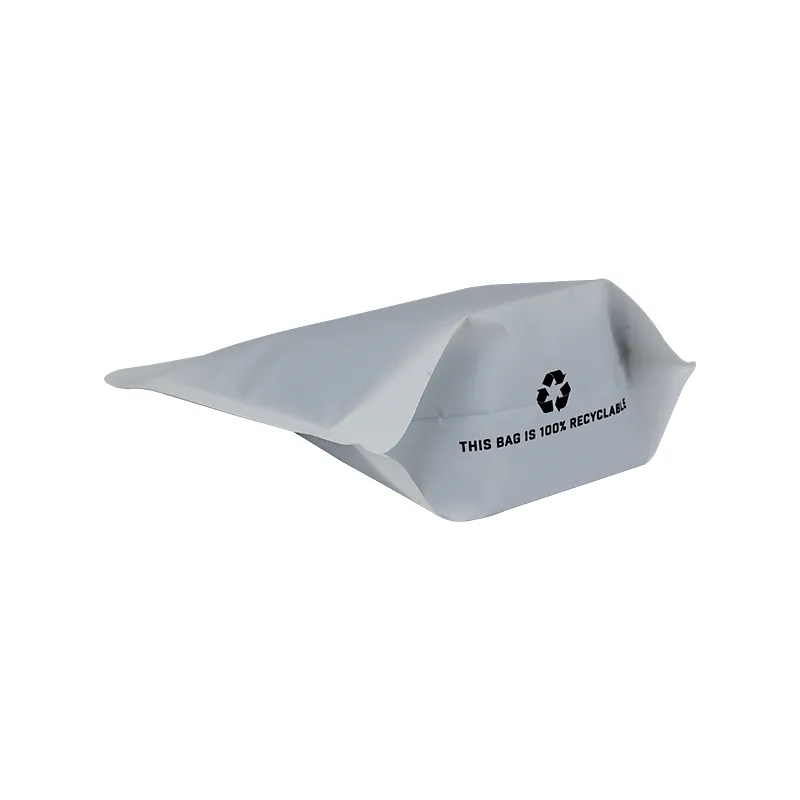
1. A Vacuum Sealer Choose a machine that is designed to handle liquids or has a liquid setting. 2. Vacuum Seal Bags or Containers Not all bags are created equal; opt for heavy-duty, multi-layer vacuum seal bags. Alternatively, vacuum seal containers with built-in vacuum pumps can be a good option for liquids. 3. A Baking Tray or Cookie Sheet This will help prevent spills during the sealing process. 4. A Funnel (Optional) If you’re using bags, a funnel will help you pour liquids without making a mess.
Step-by-Step Process
Step 1 Prepare the Liquid
Before you begin sealing, ensure the liquid is cooled to room temperature. Hot liquids can create steam, increasing pressure within the bag and making it difficult to form a proper seal. If you’re sealing a sauce or marinated item, let it cool completely after cooking.
Step 2 Choose the Right Bag or Container
For vacuum sealing liquids, you can either use vacuum seal bags or containers. If using bags, ensure they are specifically designed for liquids to prevent leaks. If opting for containers, choose those that are compatible with your vacuum sealer.
how to vacuum seal liquid

Step 3 Use a Baking Tray
Line a baking tray or cookie sheet with paper towels. This will catch any spills that may occur when filling the bags. Place your vacuum seal bags upright in the tray, or position the container accordingly.
Step 4 Fill the Bag or Container
If using bags, utilize a funnel to pour the liquid into the vacuum seal bag, leaving at least two to three inches of space at the top. This prevents the liquid from being sucked into the vacuum sealer. If using a container, fill it according to the manufacturer’s instructions, ensuring not to overfill.
Step 5 Seal the Bag
For bags, proceed to seal them following these steps - To minimize any liquid from being drawn into the vacuum sealer, you can freeze the bag for about 2-3 hours until the liquid firms up slightly, then vacuum seal it. - If you prefer to seal without freezing, use the “moist” setting on the vacuum sealer if available, which reduces suction power to avoid drawing liquid into the machine.
If using a vacuum container, simply attach the lid and activate the vacuum function according to the manufacturer's guidelines.
Step 6 Store Properly
After sealing, always label your bags or containers with the contents and the date. This helps keep track of freshness and usage. Store vacuum-sealed liquids in the freezer or refrigerator, depending on your intended use.
Conclusion
Vacuum sealing liquids can be a straightforward process when you have the right tools and techniques. Whether you're preserving homemade soups, infusing flavors through marinades, or storing fresh juices, vacuum sealing keeps your liquids safe from spoilage and freezer burn. By following the steps outlined above, you can enjoy the benefits of vacuum sealing liquids, making it easier to store and extend the shelf life of your favorite recipes. Happy sealing!


